Service Provisioning in CloudForms Using an Orchestration Template
Overview
Cloud orchestration is a service that allows you to create, update, and manage cloud resources and their software components as a single unit and then deploy them in an automated, repeatable way through a template. The deployed virtual machine instances and associated collection of resources are referred to as stack. ManageIQ supports a number of orchestration template types, including Amazon CloudFormation and OpenStack Heat, that make deploying complex services easier in the cloud.
In the following example workflow, you will create an orchestration template, and add it as a catalog item to a service catalog. You can then create an orchestration stack from the template, and launch the stack from the catalog using a service dialog.
Creating an Orchestration Template
Complete the following procedure to create a new orchestration template.
-
Navigate to menu:Services[Catalogs] and select Orchestration Templates in the accordion menu.
-
Click
 Configuration, then
click
Configuration, then
click  Create a new
Orchestration Template.
Create a new
Orchestration Template. -
Enter a Name and Description for your template.
-
Select Amazon CloudFormation from the Template Type list.
-
Select Draft to create a draft template.
-
Add your template in the area below for the selected Template Type. You can author your own stack template, or you can copy and paste from an existing text file.
-
Click Add.
Next, create a service dialog from the orchestration template.
Creating a Service Dialog from an Orchestration Template
Complete the following procedure to create a service dialog based on the input parameters defined in the orchestration template.
-
Navigate to menu:Services[Catalogs] and click Orchestration Templates in the accordion menu.
-
Expand All Orchestration Templates, then click the orchestration template you created in ??? to create a service dialog from it.
-
Click
Configuration, then
click Create Service Dialog
from Orchestration Template. -
Enter a name for the service dialog in Service Dialog Name.
-
Click Save.
Creating an Orchestration Catalog Item
Complete the following procedure to create a new catalog item from the orchestration template you created in ???.
-
Navigate to menu:Services[Catalogs] and select Catalog Items in the accordion menu.
-
Click
Configuration, then
click Add a New Catalog
Item. -
Select Orchestration from the Catalog Item Type list.
-
Enter the basic details in the Basic Info:
-
Enter a Name and Description for the new service catalog item.
-
Select Display in Catalog box.
-
Select the appropriate catalog from the Catalog list.
-
Select the appropriate dialog from the Dialog list.
-
Select the orchestration template you created in ??? from the Orchestration Template list.
-
Select Amazon from the Provider list.
-
-
Click Add.
Next, assign the catalog item to a new service catalog.
Creating a Catalog
Complete the following procedure to create a new catalog, and assign the catalog item you created in ???.
-
Navigate to menu:Services[Catalogs] and select Catalogs in the accordion menu.
-
Click
Configuration, then
click Add a New Catalog. -
In Basic Info, add Name and Description for the new catalog.
-
Under Assign Catalog Items, select the catalog item you created in ??? from the Unassigned box, then move it to the Selected box.
-
Click Add.
Ordering a Service
Complete the following procedure to order catalog items from the service catalog.
-
Navigate to menu:Services[Catalogs] and select Service Catalogs in the accordion menu.
-
From All Services, select the catalog and the services (catalog items) that you want to order from your catalog, then click Order. You will see the Order Service window with Options and Parameters.
-
Enter a name for the stack in Stack Name.
-
From the On Failure list, select what to do if stack creation fails. The default is Rollback.
-
Optional: Enter Timeout in minutes.
-
Set the remaining options as needed that will vary depending on the dialog.
-
Click Submit.
You have now submitted your service provisioning request. Once a request has been approved, the various stages of fulfillment will be processed. You can monitor the request status and other details in menu:Services[Requests].
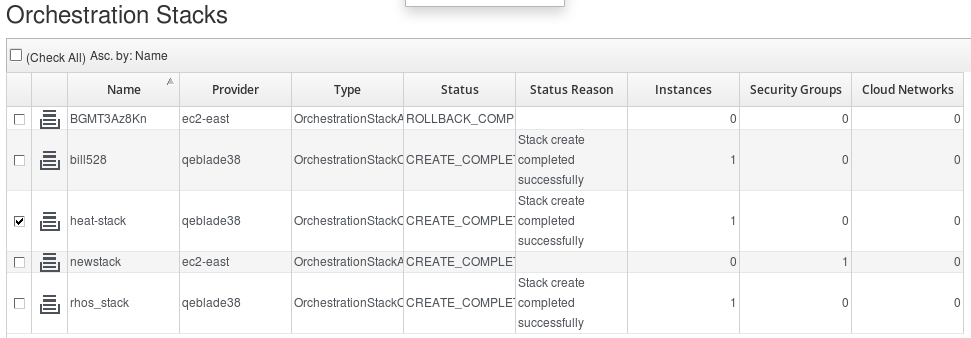
Orchestration Stacks
-
Once the status of the provisioning request in menu:Services[Requests] is Finished, click menu:Compute[Clouds > Stacks] to see the deployed stack.
-
Click the stack to see a summary of its properties, resources, among other details, including the running instances that are part of the stack.
You have now deployed instances and associated collection of resources (referred to as a stack) using an orchestration template.