Provision Your First Instance
Let’s generate a new instance through ManageIQ, the hard way. Don’t worry, And afterwards we will rehearse a method that is easier for customers.
Generate a new instance
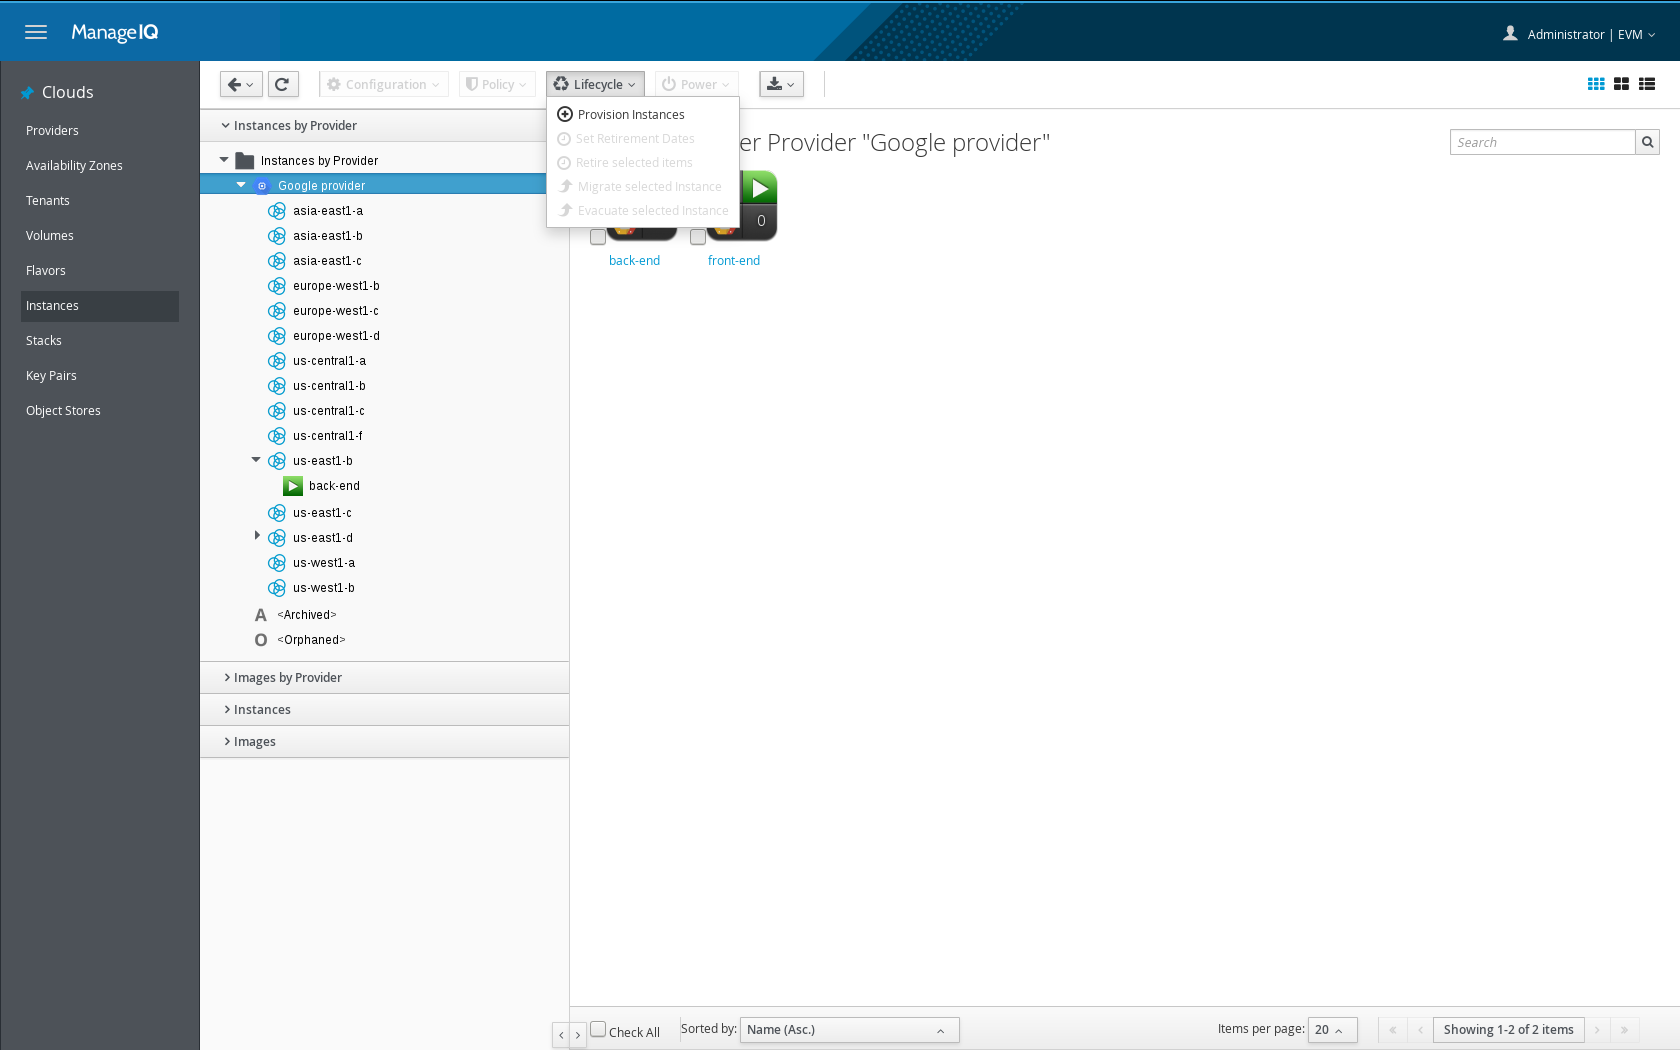
Go to Compute → Cloud → Instances, and select your Google provider in the tree.
You will see all the instances in the provider independently of the availability zone they belong to.
If you have more than a cloud provider all your instances from all your providers will be available at the same time and you will be able to interact with them.
Select Lifecycle → Provision Instances from the bar on the top.
After a few seconds you will have a list of all images available, select the latest version of centos-7. Press Continue
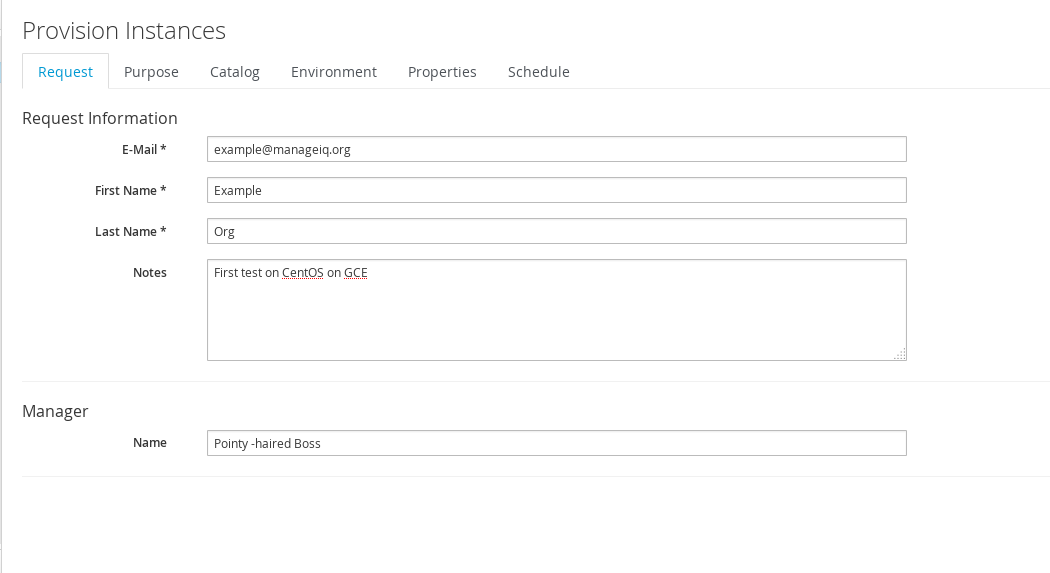
There are different elements that you need to fulfill:
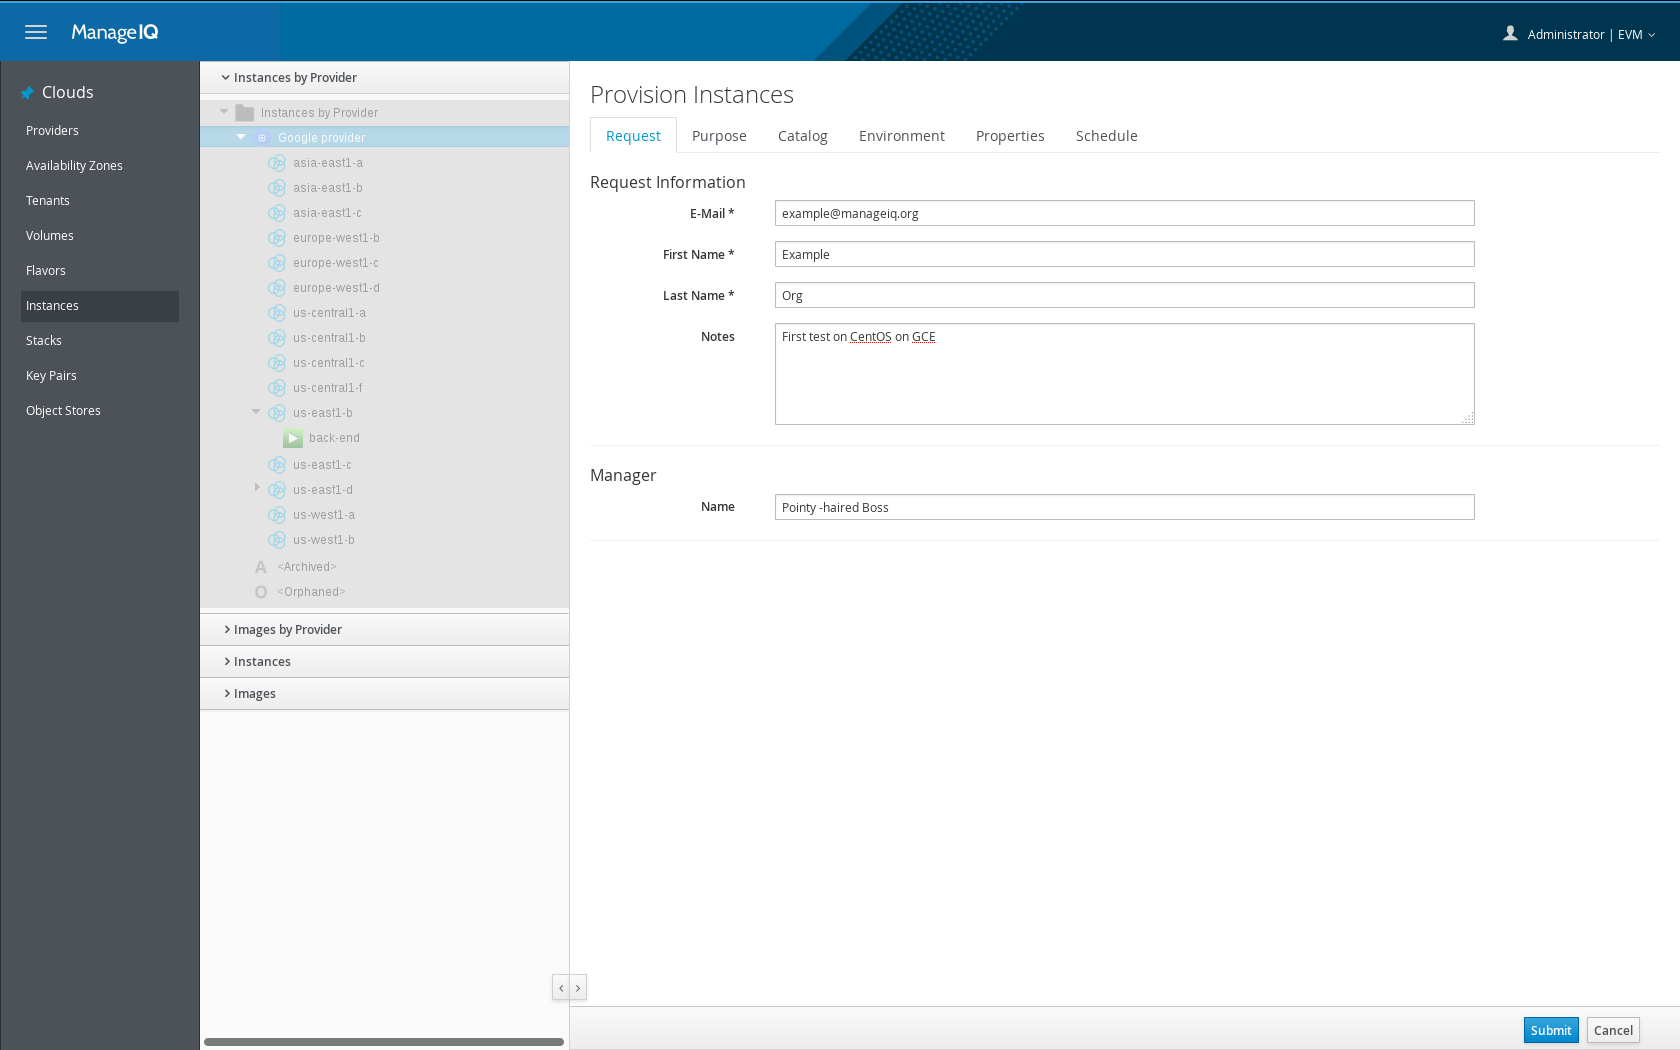
Request####
The information about the request itself, it will be used for reporting, notifications, and to help decide whether approve it or not.
Purpose####
Tags are running deeply in ManageIQ, to allow the system to provide functionality like visibility of instances, chargeback, best place provisioning decisions, quotas, etc. You can find a lot of information about this in the documentation.
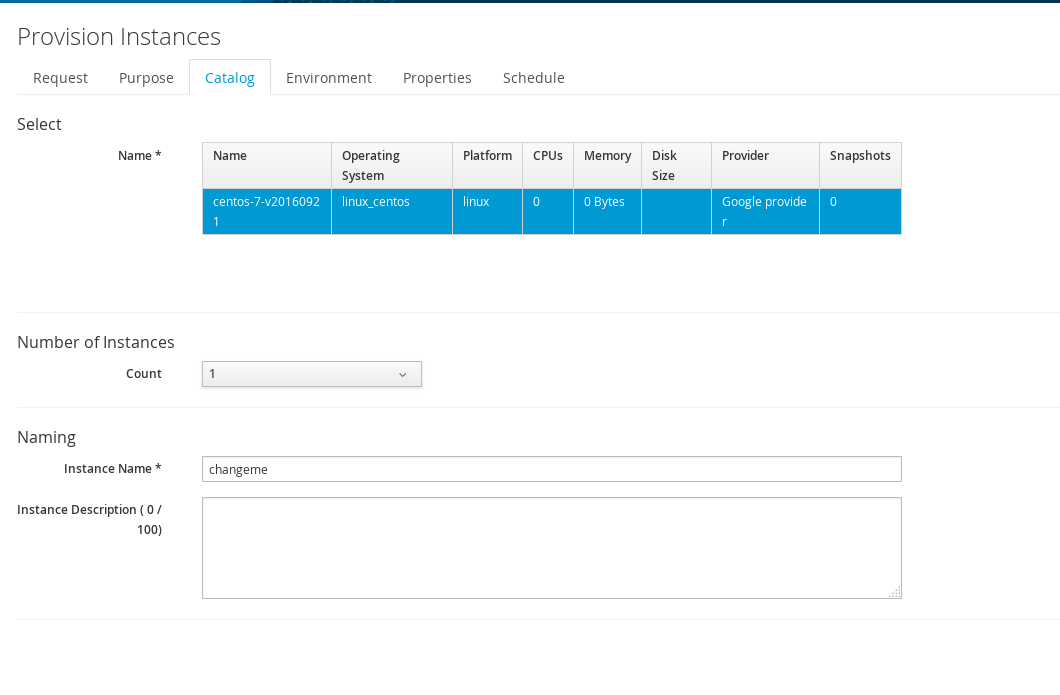
Catalog####
This will allow to modify some characteristics of the instance, like the number of instances, its name and description.
Environment####
This will allow you to choose the availability zone and the cloud network to be used.
You can always check choose automatically to allow the system to find the best option for you.

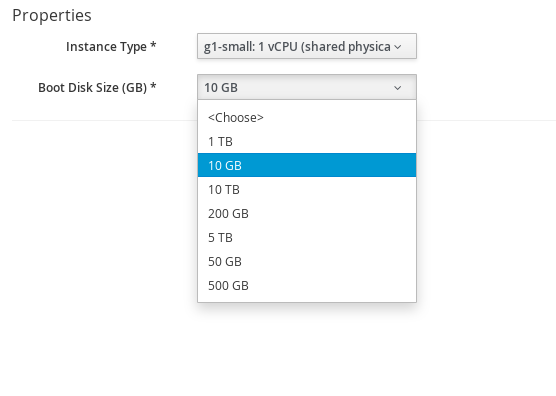
Properties
This allows you to modify the instance type and boot disk size to adapt it to your necessities.
Choose a small instance type: (g1-small) and a boot-disk of 10 GB.
Schedule
This allows you to decide if you want to provision the Instance now or in a later time.

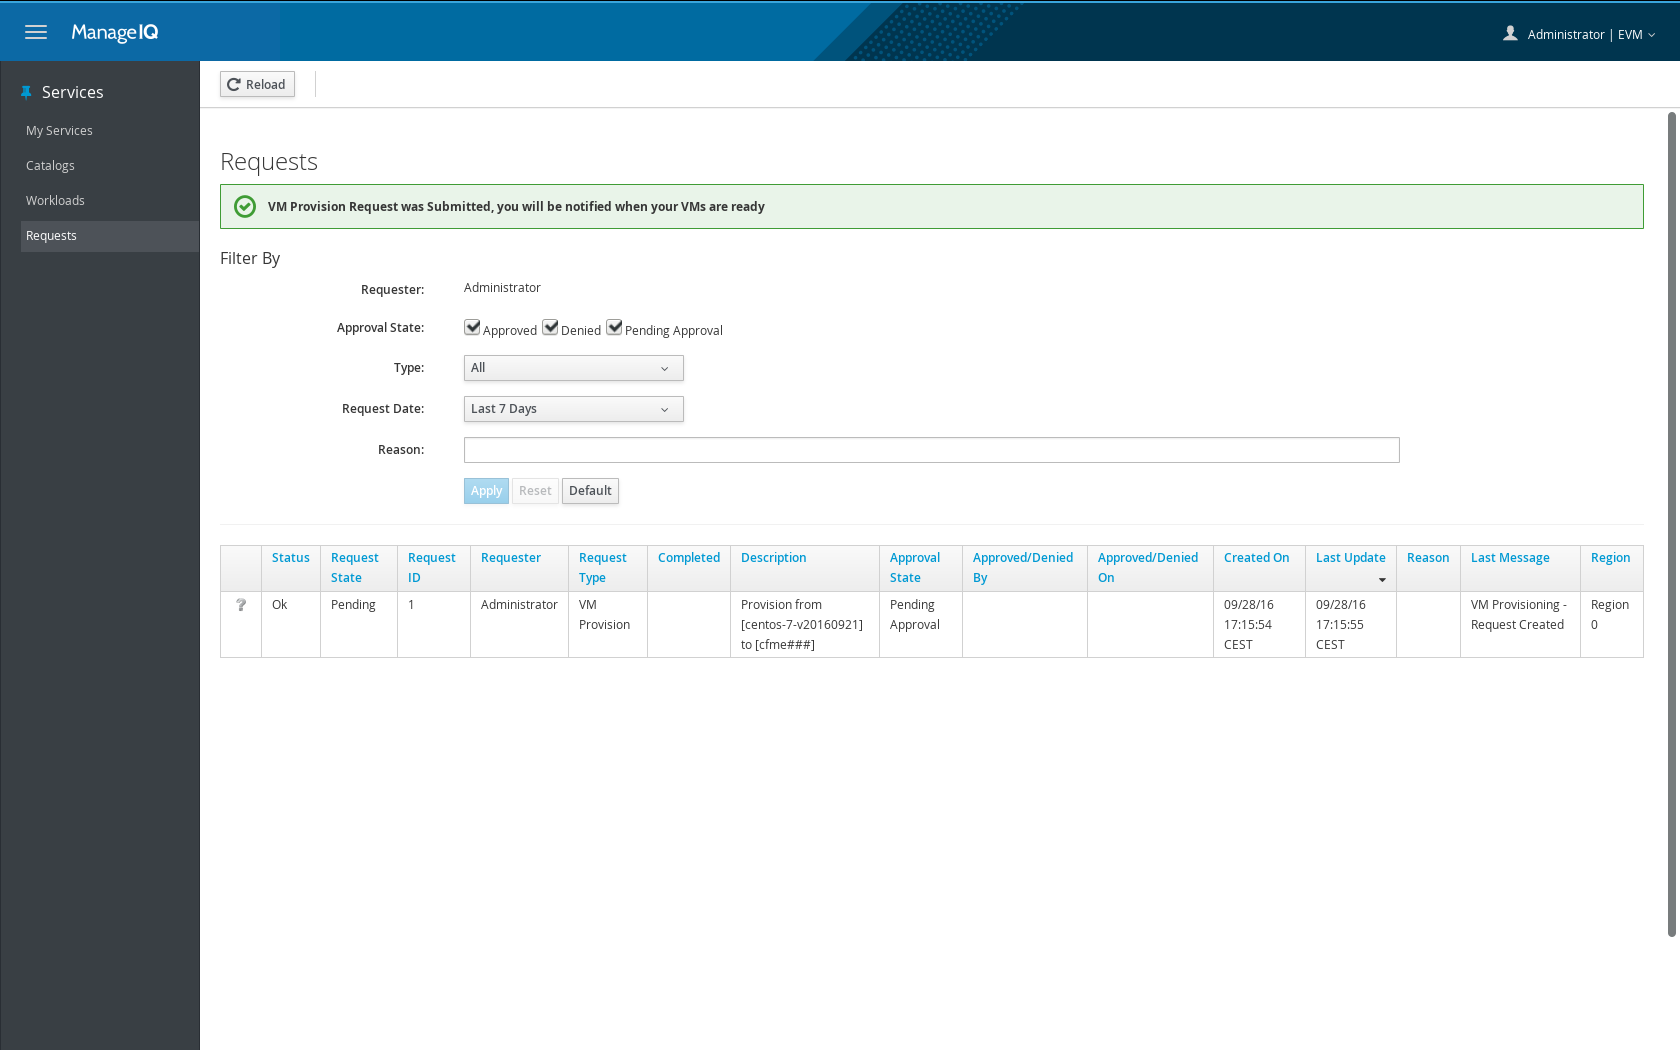
Press Submit
You will see your request go through different stages (you can press Reload to see the changes)
After a few seconds, a new VM will be present, owner and group will be properly set up for this new VM and you will see all the information about it.
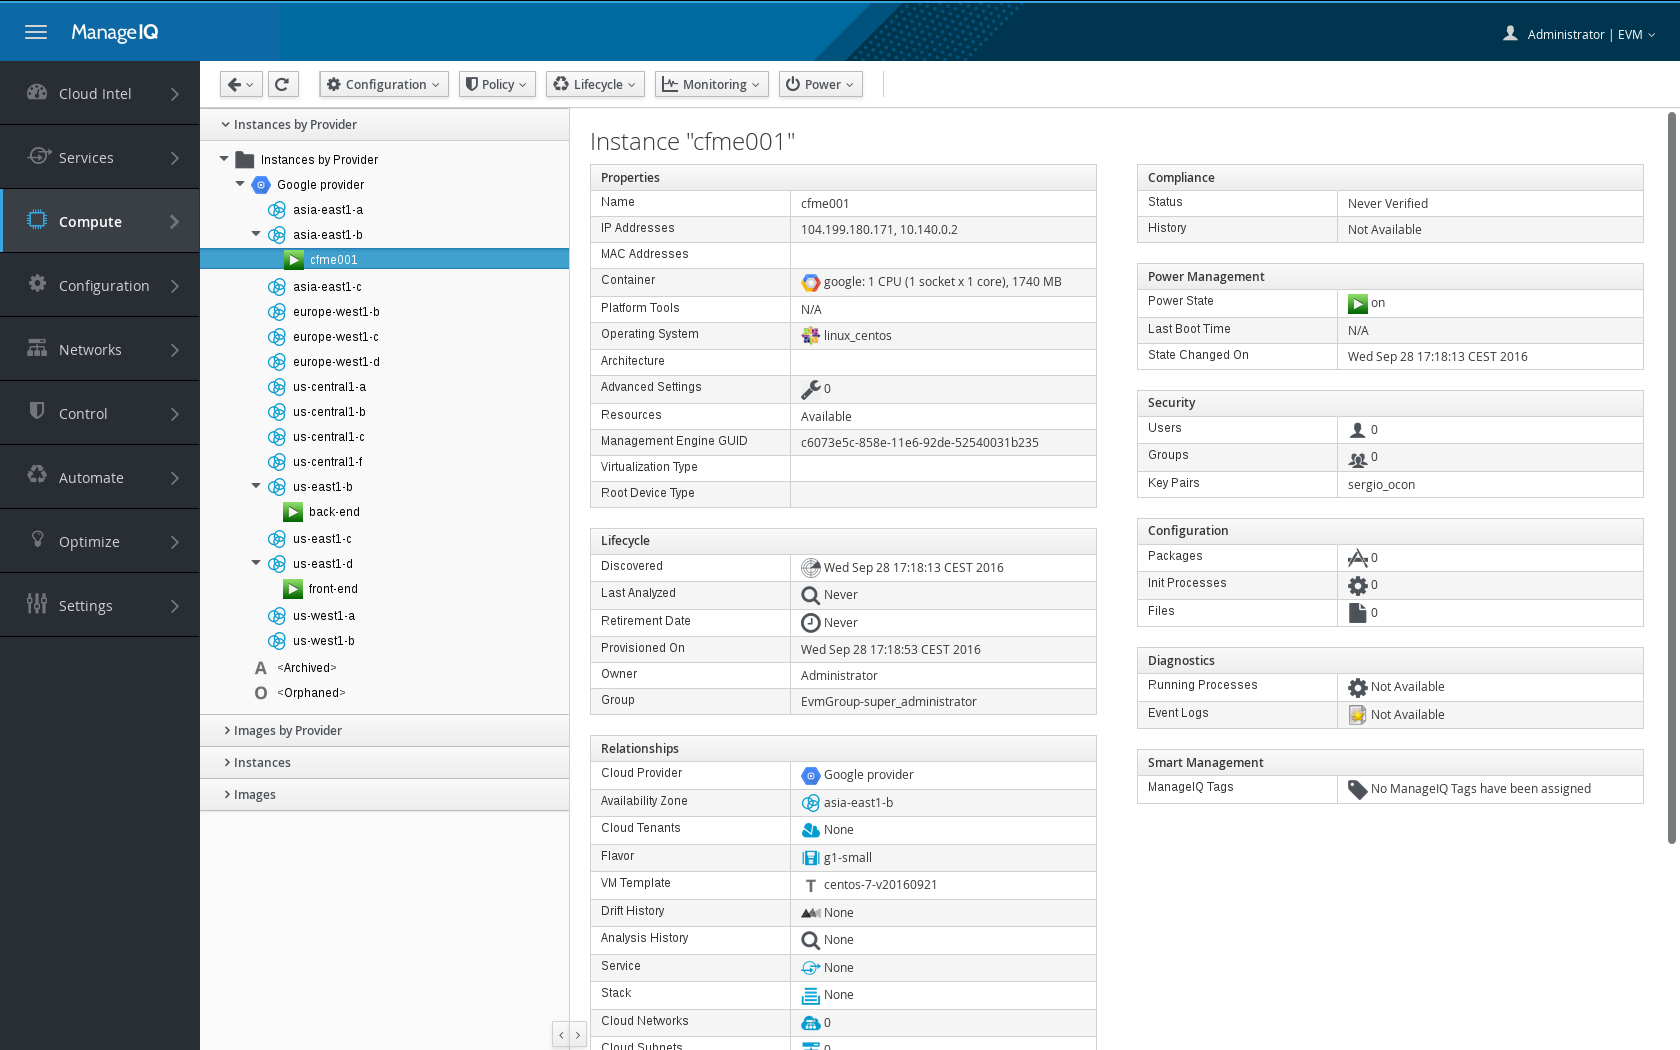
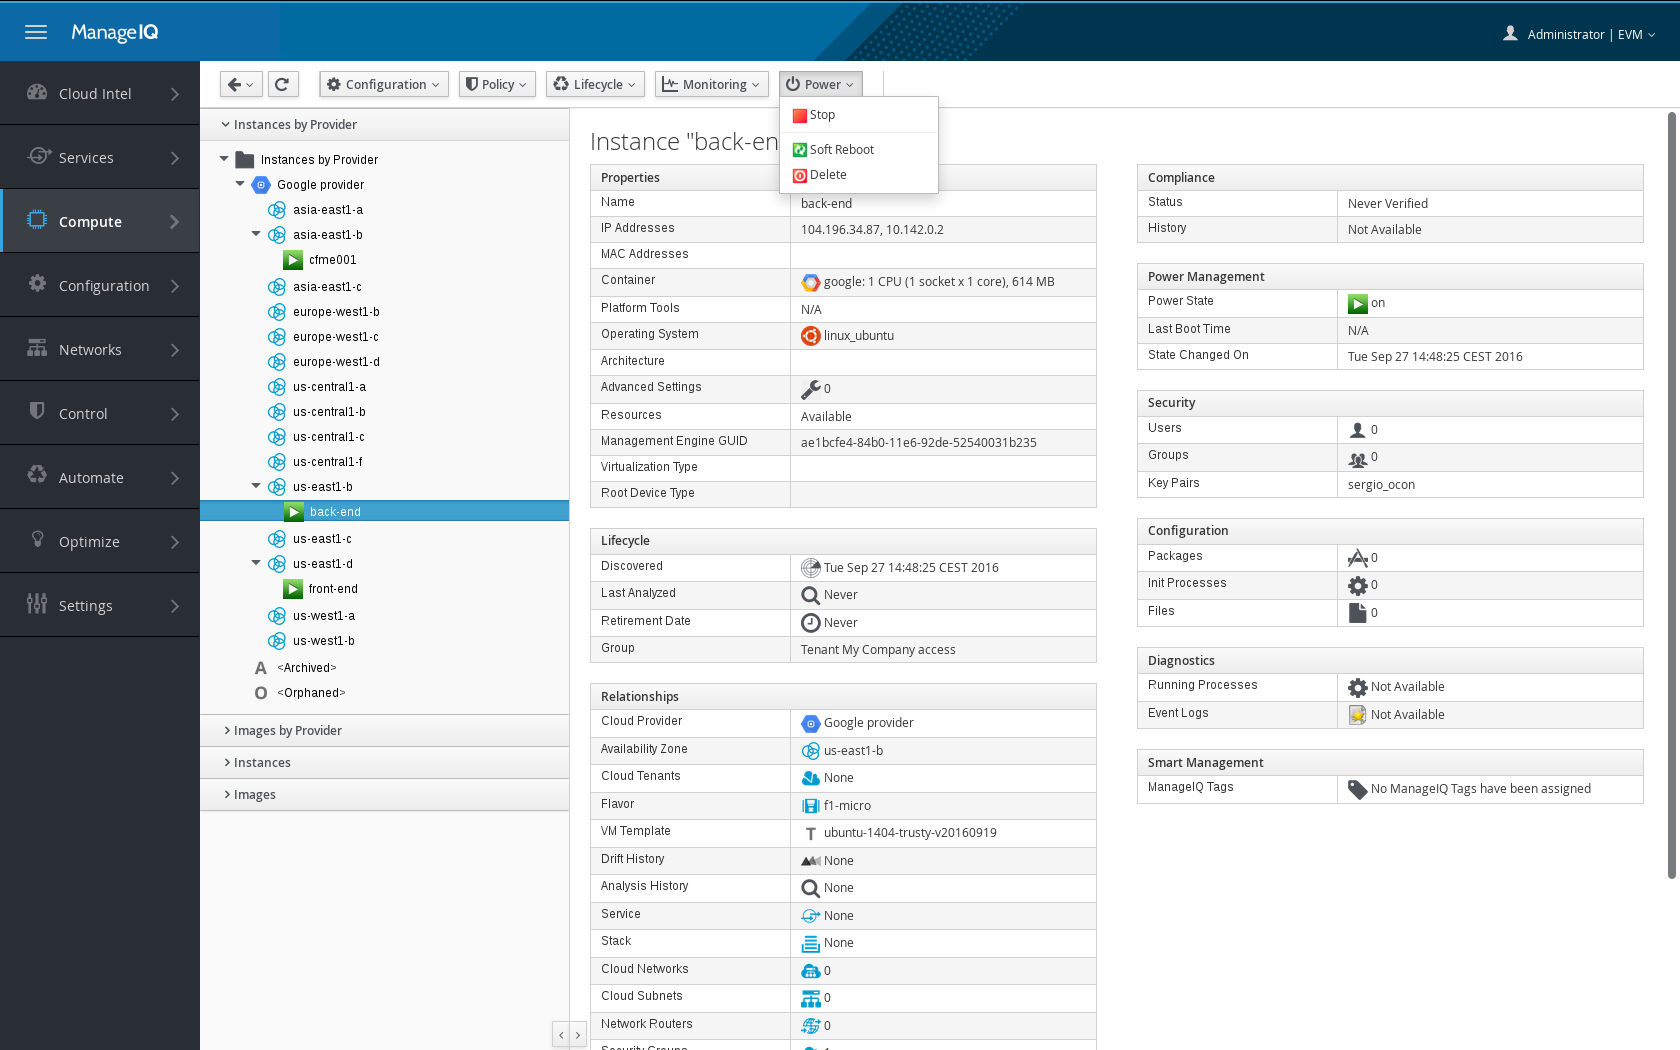
Once you have this VM created, you can go to any of the VM and choose Power → Stop or Power → Delete in the upper menu to avoid unnecessary charges